How to Cut Lavender Bundles Like a Pro!
Have you ever wondered how to cut lavender into the gorgeous bundles that you find at your farmers’ markets? You’re not alone! This is one of the most common questions we get at McKinley Lavender Farm in Kelowna, BC. We’ve finally found some time in between harvesting and bundling to create an easy video to show you how to do it like a pro. Watch and learn as we show you the proper tools to make it easy. In addition, we’ll show you how to gather and where to cut the plant for optimal regrowth. If you’re a reader (hi, friends!) like me, I’ve also done my best to outline the steps for you below, otherwise, check out the easy-to-follow video to see how it’s done here.
What’s the proper tool for cutting lavender bundles?
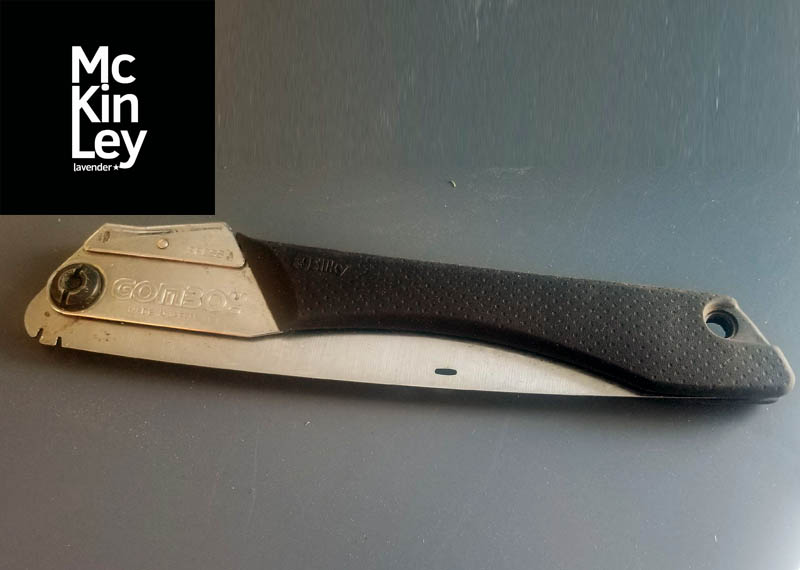
First, let’s talk about the proper tools for the trade. We use a hand scythe, or hand saw to hand cut our lavender bundles. Pictured is one from our fleet 😉 They are approximately 12″ when closed up and almost 2 feet when opened for use. They’re very sharp, especially if you’re using a brand new one, so watch your fingers. Always store it in a closed position when not in use. I’m in the habit of closing mine each time I move from one plant to another. You can pick these up from your local hardware or farm supply store. Just make sure that they have a spring safety on them that locks in place. There are many out there that are lacking simple safety features, so shop thoughtfully.
Pictured: Hand Scythe in a closed and locked safety position
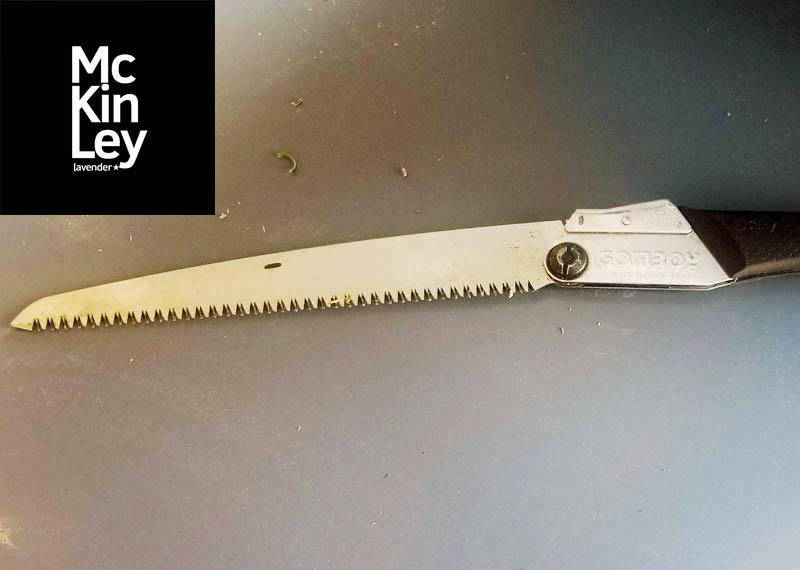
Pictured: Hand Scythe in an open, ready-to-cut position
How do I know when my lavender plants are ready to be cut?
Lavender begins to bloom in most areas of Western Canada in late June. With consistent heat, you should begin to see flowers emerge from the buds towards the end of the first week of July. English lavender always blooms first and the giant French are always last. When you cut lavender from the plant in late June or early-mid July you will have the ideal stems for bundles and drying. Cutting your lavender plants at this stage also promotes a second mini bloom in Autumn.
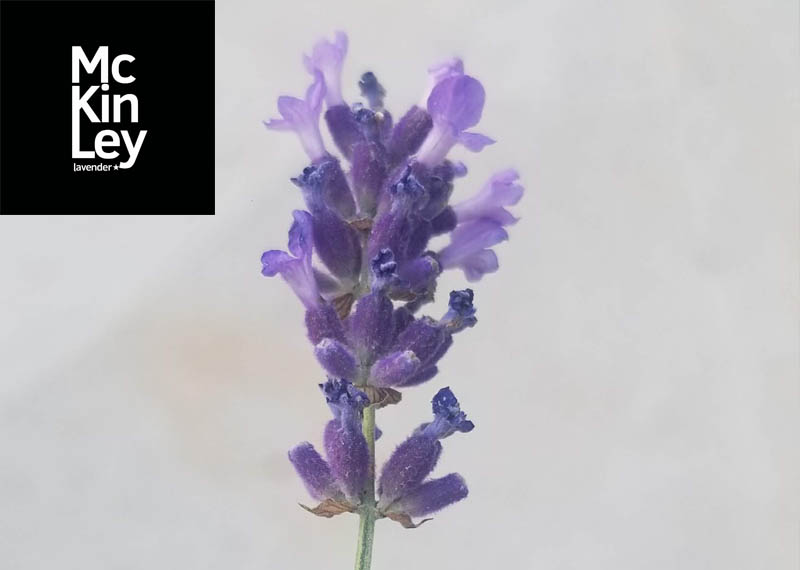
Pictured: A stem of French Phenomenal Lavender about to fully flower
Step by step on how to cut lavender bundles from the plant.
Step One: Inspect your lavender plant before you cut
The first thing we like to do is take a look at each plant before we begin to cut. This gives us a rough idea of how many bundles we are going to cut. It’s also a great time to analyze the health of your plants. We inspect the wood at the base and stem looking for rotted old wood that should be removed. Don’t worry too much if you’re pulling a lot of wood off a plant. In 99% of cases by getting rid of the old, loose wood your plant will grow back stronger.
It’s no different than pruning back a Rose or even a Peony in the fall. It should be mentioned that you aren’t going to get many bundles from new plants. In fact, it can take upwards of 5 years for some varieties of lavender plants to reach an age of maturity to properly harvest. You should still cut back new plants especially if they are 2 years or older. Cutting promotes more growth, so don’t worry about it never flowering again!
Step Two: Gathering your bundle
Once you’ve inspected your lavender plant. Gather up a bunch by using your index finger and thumb as a guide for size. The lavender will naturally section into a bundle when you start to grab at the stems. It becomes very clear to see where your cut should be made at this point. Another way we describe this stage is by making lavender ponytails! Just like you would gather up hair for a ponytail you do the same when gathering lavender stems.
Pictured: A Phenomenal lavender ponytail ready to cut
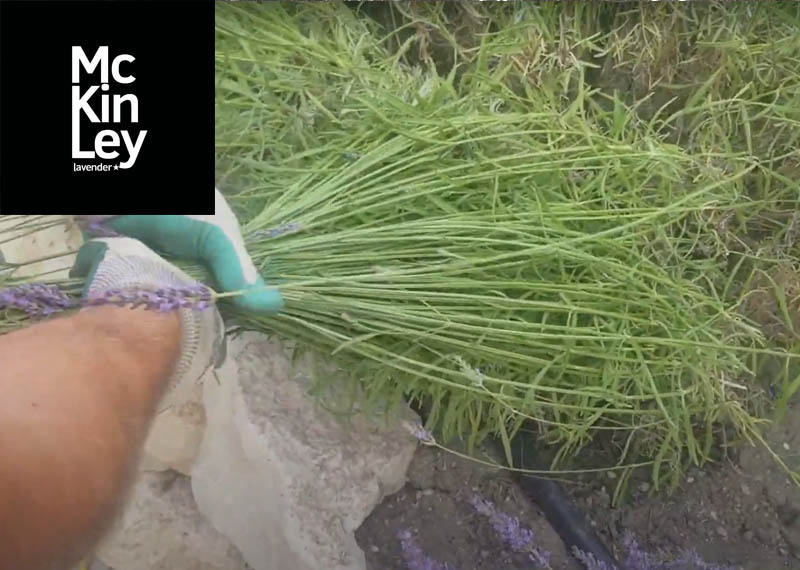
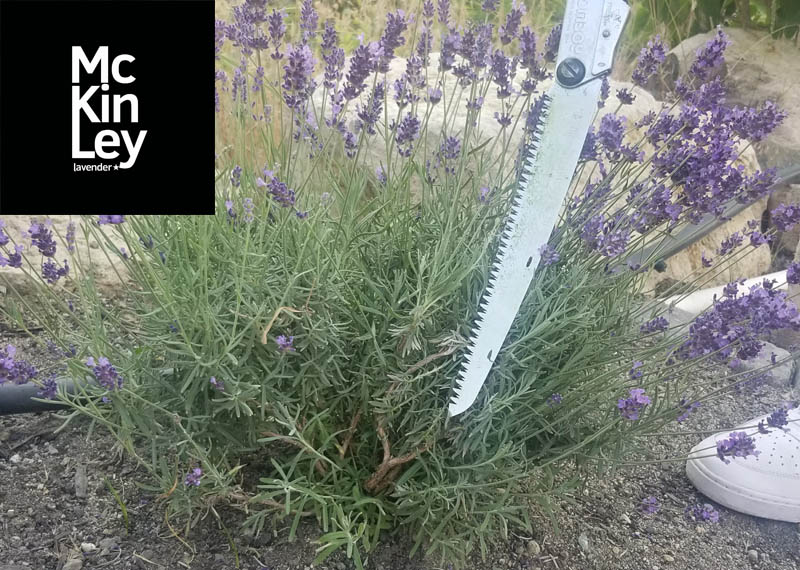
Step Three: Use the Hand Scythe
This is where the mighty hand scythe comes in. If you’re cutting more than a few plants in one day you’ll want this in your tool belt. While you hold firmly onto the lavender bundle by the stems, place your hand scythe just above the wood of the lavender plant. You want to cut into the green stems and avoid cutting the wood of the plant. This is really the only tricky part about cutting lavender plants. You don’t want to be too careless and needlessly cut the wood.
This is really easy on a tall French variety like we have demonstrated on the Phenomenal lavender. However, English plants such as the Hidcote and Super Blue can be a little harder to gauge because in some cases they are only a foot tall. Take your time and inspect the natural bundle shape. We encourage you to leave a bit of green stem just above the wood.
Step Four: Drying your lavender bundles
Since we produce thousands of bundles each year our process is more intense when it comes to harvesting and drying. In order to prevent any possibility of mould forming on our lavender bundles. the stems are immediately laid out after cutting to rack dry. When you are drying lavender you never want to dry it in direct sunlight. Direct sunlight will cause the stems to turn from a silvery green to a yellow-brown. Sunlight will also cause the blooms to fade and turn grey in colour. They aren’t nearly as attractive as a bundle dried in the proper conditions.
If you are hanging your bundles to dry then you want to ensure that you have great air circulation. Don’t tie them too tight, keep a light fan or breeze on them to circulate airflow. You will want to inspect your hanging bundles often. Mould will begin to form on the stems and in the flowers in the middle of the bundle if they have been dried improperly. They will also begin to take on a musty, almost horsey smell if they have turned.
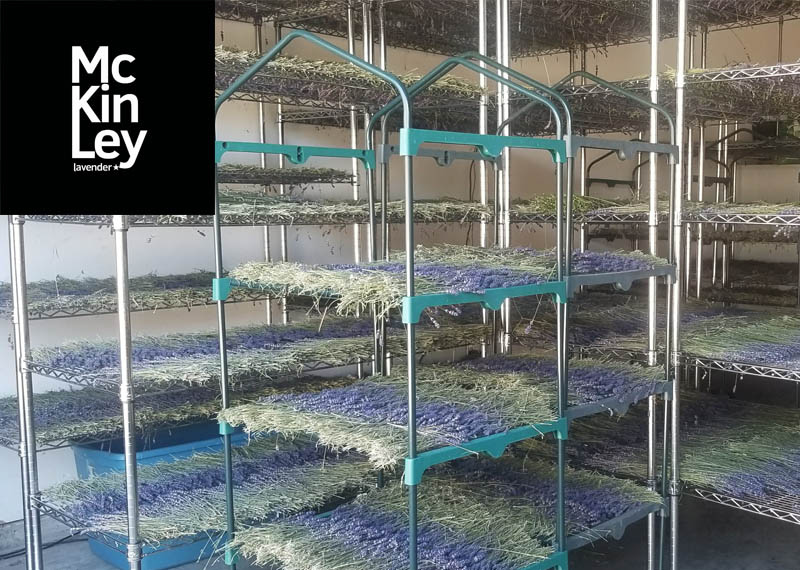
By rack drying, in thin, flat layers you will produce a much more quality product. Flat-laid lavender also dries much, much faster than hanging bundles upside down. Make sure you are using wire racks so that the air can flow through. Proper, warm air circulation is key to getting a premium bundle.
Pictured: Racks of Super Blue Lavender drying in the heat out of direct sunlight
Step Five: Tying lavender bundles
Once our rack-dried lavender has been confirmed fully dry, we then start to bundle. We hand tie our bundles using twine that you can pick up from any hardware store. We gently gather the stems into a bundle using the same index finger to thumb ratio as we did when we first cut. This seems to be the magic way to get a good-sized bundle with a healthy amount of stems. Our bundles at McKinley lavender farm have close to 250 stems. The shorter English varieties can have almost double!
Once you’ve gathered your bundles adjust the stems so that you have most of the floral bouquet positioned at a consistent height. You don’t want to have stems sticking up higher than the others in the floral top. This is due to the fragile nature of dried lavender. You could lose unnecessary stems and buds if they aren’t at a consistent height. Don’t worry about the bottom stems not being even at this point.
Gently wrap the twine around the bundle until you can tie a bow or knot. You want to make sure that your bundles aren’t tied so tightly that they neck the stems. Necking is when the fastener is tied too tightly and either breaks the first layer of stems or leaves and imprints.
A lot of people use elastic bands to secure their bundles. It’s a preference. We like the look of twine. Also, we’ve found that elastics can cause necking, not to mention that they also deteriorate much more quickly than twine.
Step Six: Finishing your lavender bundles
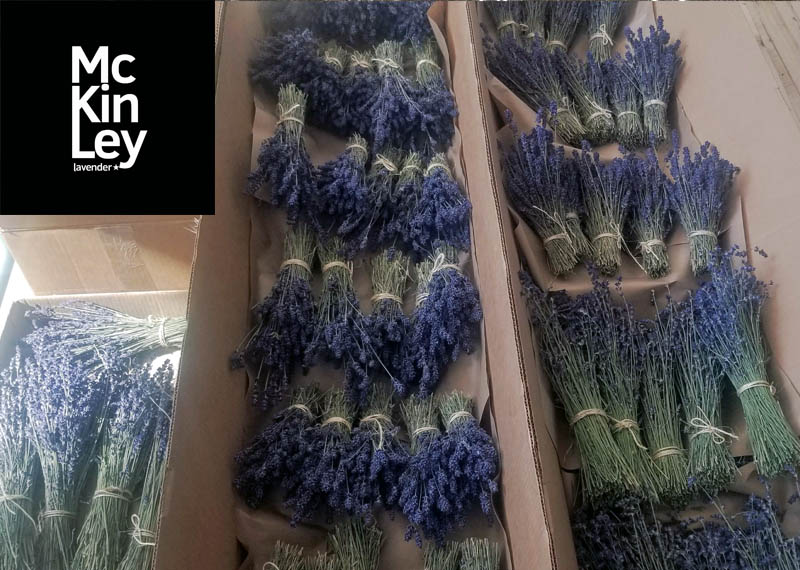
Lastly, your bundle will likely look pretty messy at the bottom. Use a pair of gardening scissors to trim the bottom of the stems into a nice even edge. Trim off any excess stem, and wood and pack the bundles into cardboard boxes for storage or shipping.
Pictured: Boxes of Hidcote Blue ready for packing and shipping
We hope you’ve found this step-by-step on how to cut lavender informative! Do you have any tips to share? We’d love to hear from you over on social media on our Instagram account. Once the harvest is over we will post some of the season’s highlights on that account. Stay tuned as well for an update on the 2021 season. We can say without a doubt that this season was even weirder than 202o. Fires, smoke, heat domes, and Covid. Bring on the zombies!
Now watch the video below to learn how to cut a lavender plant from start to finish!

Do you still have questions about how to cut lavender? Reach out to us and we would be happy to share our advice!