Many people grow lavender for its beautiful purple colour and charming aroma. However, we encourage you to take it a step further and dry those purple flowers! In its dried form, lavender presents so many opportunities for culinary, health, and wellness uses. If you’ve just harvested your lavender for the first time, you’re probably wondering how to dry it properly. To help all of our first-timers, we detailed everything you need to know about drying lavender on a small scale. We assure you that the process is worth the wait! After all, there’s nothing quite like the fragrance of a dried lavender bundle. Continue reading the article below to learn more about how we dry our lavender for sale in the Okanagan!
Harvesting Your Lavender for Drying
Before you can begin the drying process, you first need to harvest your plants. This is a relatively simple step and will help improve the health of your plants. When harvesting your lavender, it is best to begin during the early morning once the moisture has evaporated from the plant(s). You don’t want to cut lavender for drying when it’s wet, since this will increase your chances of having mould or mildew.
We like to think of harvesting lavender as giving the plant a haircut. To give your plant the best cut you’ll want to use a sharp scythe. Gather the plant into a ponytail-like shape and cut it just above the woody part of the plant. The stems of your bundle should be entirely green. If you notice brown, then you’ve likely cut too far down. Try and avoid cutting into the woody base as it can damage the plant.
We delved deep into our harvesting process in last month’s blog post, so if you want a more thorough understanding of how to harvest your plants, we encourage you to check it out.
Sorting Your Lavender
Now that you’ve harvested your plants, you can begin the process of drying your plants. In this step, we recommend having a green bin or some kind of bucket to throw out organic material nearby. When drying your lavender, you want to make sure that you’ve sorted through your bundles and removed any weeds. Additionally, if you have multiple varieties, you’ll want to keep them separate during this stage. Lavender often has weeds growing in the middle of the plant that you might not even notice until you’ve harvested them. To separate your lavender from other plant matter, spread your lavender stems across a flat surface and filter out grass pieces, weeds, sticks, and other unwanted items. Toss away the weeds as you go until you are left with only lavender.
You can skip this step if you really want to, but we recommend doing it since it will leave you with cleaner, prettier dried bundles. Alternatively, you can sort through your lavender after it has dried, however, we would advise against this. Sorting lavender when it is dried is incredibly messy because buds tend to fall off with the slightest movement. So, not only will you make a mess, but you also risk losing most of the buds.
When, how, and if you sort is all dependent on what you are planning on using your lavender for. We always sort our plants prior to drying because we think it produces better results. However, if you are drying just to remove the buds, then you probably don’t need to sort the plants. Contrastively, if you are using lavender for dried bundles, you will absolutely want to sort it prior to drying.

How do we Dry Our Lavender for Sale in the Okanagan?
So you’ve sorted your lavender (or not)? Now what? This is definitely the easiest step in the drying process—unless you’re impatient. There are a few ways that you can dry your lavender and a lot of ways that you should not dry your lavender. Let’s begin with the right ways to dry your purple pals:
- Laid Flat on a Rack
This is the method that our farm opts for since it takes up minimal space and works for bulk amounts of lavender. To rack dry your lavender, simply lay out your lavender on a wire rack (yes, this is necessary because it allows airflow from the top and bottom). You’ll want to make sure that you don’t stack the plants higher than an inch, otherwise, you risk trapping moisture → ie mould heaven. Leave your plants to dry for a week to ten days until they’re brittle in texture.
- Hung Upside Down
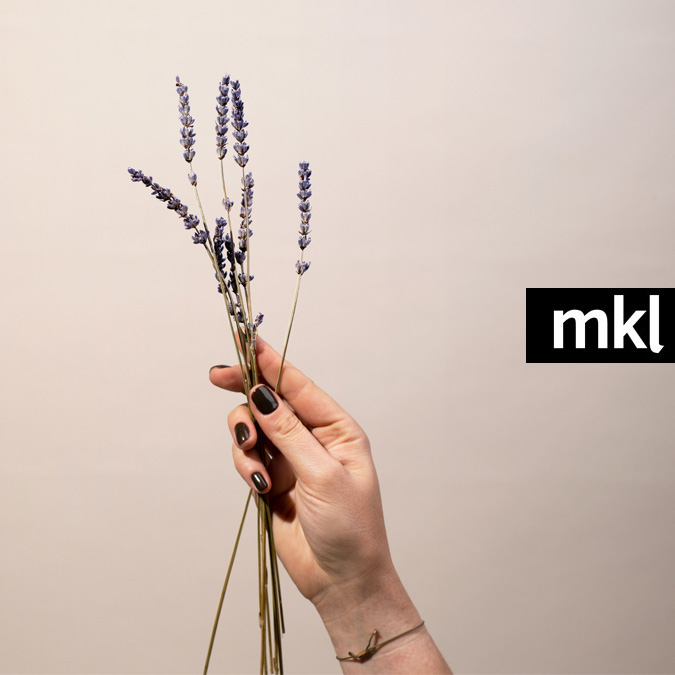
Another way to dry your plants is by hang-drying them. To do this you’ll want to form small bundles of about 25 stems and hang them flower side down. Leave them for 7-10 days until they’re brittle in texture.
- In Teeny Tiny Bundles
If you don’t feel like hanging your lavender way up high, you can also leave them to dry in a bundle. However, it is super important that you don’t make the bundle larger than about 25 stems. Otherwise, your bundle won’t dry and will instead turn mouldy. Lay your bundle on a flat wire rack for 7-10 days until they’re brittle in texture.
Now that we’ve covered the right ways to dry lavender, let’s go over some of the wrong ways to dry it:
- Drying on an angle: this will result in crooked lavender. Do not dry on an angle if you plan on making bundles.
- Drying too much in one space: lavender needs to be spread thinly in order to dry without producing mould or mildew.
- Drying in giant bundles: the same reason as above.
Contact us About Lavender for Sale in the Okanagan!
Are you interested in purchasing dried lavender from our farm? If yes, place an order with us right away! Be sure to stay tuned to our social media, website, and blog for the latest farm happenings. As always, if you have any questions about purchasing lavender for sale in the Okanagan, feel free to contact us. Or, if you have any inquiries about Lavender Jack’s, don’t hesitate to reach out.
