Lavender harvest season is one of the most beautiful and busiest times on our farm. The fields are full of colour and the scent of fresh lavender seems to linger everywhere. Harvesting lavender requires proper timing, care, and the right tools to get it right. Whether you’re growing a few plants at home or just curious about what happens during harvest time, we wanted to share our simple guide. In this post, we’ll explain how to know when your lavender is ready, what tools we use, and where to make the cut for healthy regrowth. We hope this gives you a closer look at how we do things and helps you feel connected to the process!
Knowing When it’s Time for Harvesting Lavender
Lavender doesn’t bloom all at once. Instead, you’ll notice it starts slowly. The first sign of blooming lavender is the formation of buds. Then, you might notice that the flowers begin to open from the bottom up. The best time for harvesting lavender depends on your goals with the product. If you want to harvest buds or use the plant in its dried form, the best time to harvest is just before the flowers start to open. On the other hand, if you’re cutting bundles for vases or decor, you may want to wait until about half to three-quarters of the buds on the stem have opened.
During harvest season, we will start clipping in the morning. Though this is mostly just to beat the Okanagan summer heat. We’ve learned over the years that nobody wants to be out in the fields when it’s 35 degrees outside. Sometimes we might harvest in the evening, but that’s usually when the critters start to come out. It’s important to note that we never harvest right after rain because wet plants don’t dry well. If your plants are damp or dewy, it’s best to leave them for another day.
Tools and Where to Cut
We use a few basic tools when harvesting lavender, and they don’t need to be fancy. The most important thing is to use something sharp. A small garden saw or a curved harvesting knife works best for thick bunches, especially if you’re cutting several plants in a row. For small batches at home, strong garden scissors or pruners are just fine. The older and more mature your lavender plant is, the more you’ll want to use a garden saw.
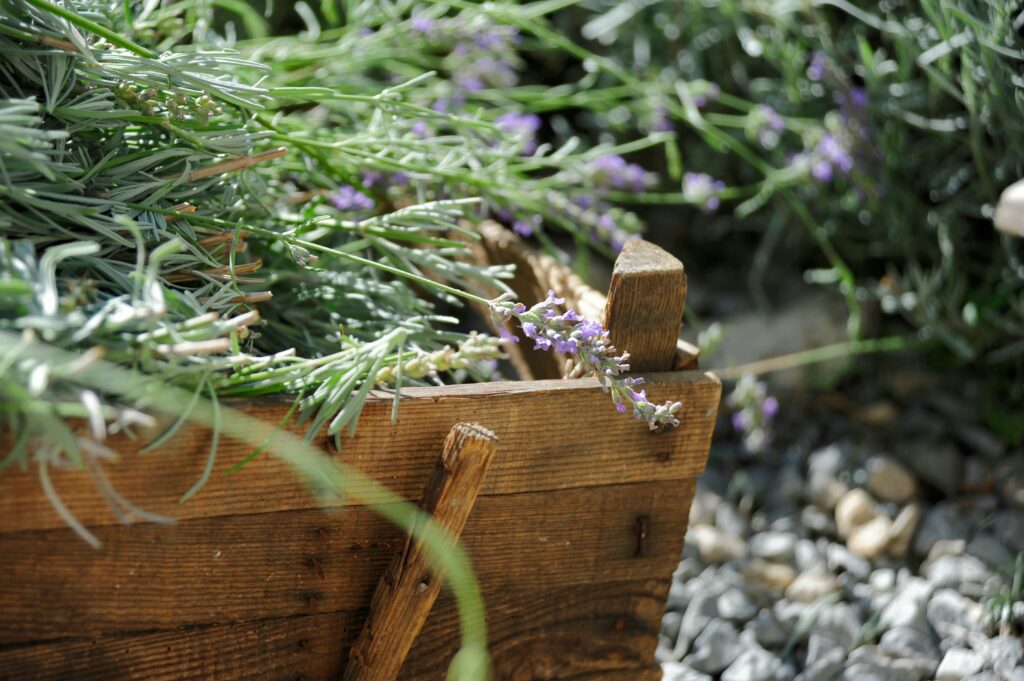
When you’re ready to cut, reach down the stem until you find the woody part of the plant. You don’t want to cut into the woody base because this can hurt the plant. Instead, aim to cut above it, leaving a smidge of green stem behind. This helps the plant grow strong and full next season. A good rule is to cut where the green meets the grey. That way, you protect the base and give the plant time to regrow before winter.
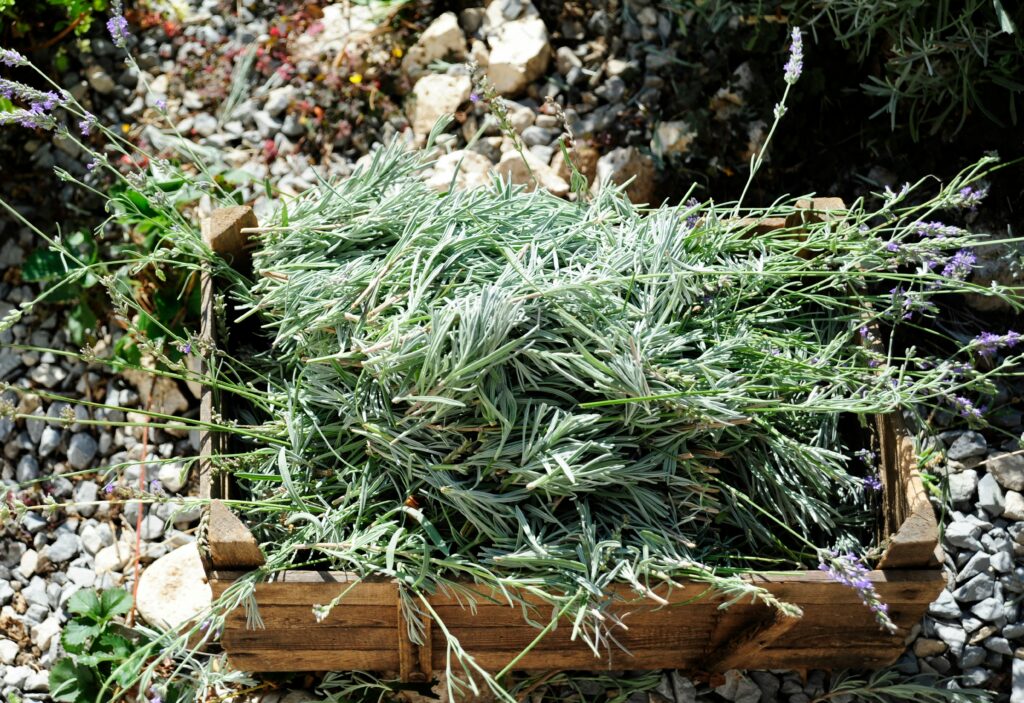
We gather stems in small bunches, holding them gently like you’re forming a ponytail in one hand and cutting with the other. After we cut the bundles, we usually place them in a clean bucket, facing the same way. On the farm, we can clip hundreds of bundles a day, but at home, even harvesting a handful of stems is rewarding.
Make sure that you are gentle with your plants. Lavender may look tough, but it does best when handled with care. Clean your tools before and after each harvest to avoid spreading any diseases between plants. And if your plant is young, be extra cautious. Give it time to grow strong roots before you start trimming it back.
The Perks of a Good Harvest
Harvesting lavender offers a chance to enjoy the beauty of the summer season. The scent alone makes it worth the effort. After the plants are clipped, the fields feel lighter, like they’ve had a fresh haircut. The bees keep buzzing around, and we move from row to row, filling our buckets.
At home, drying lavender is simple and worthwhile. After harvesting, lay your stems flat in a cool, dark place like a closet or a covered porch. Make sure there’s space between the bundles so the air can move freely. In about two weeks, the flowers will be dry and ready to use.
You can keep the dried stems whole for decoration, or strip the buds and use them in sachets, teas, or bath salts. Fresh lavender can also be used in recipes or to make oils. The options are endless, and nothing beats the feeling of using something you’ve grown and harvested yourself.
Lavender is a generous plant. When harvested the right way, it comes back year after year. Taking time to understand the process of when to clip, how to clip, and what tools to use makes a big difference in both the look and health of your plants. Whether you’re working on a farm or harvesting a few backyard stems, the process is rewarding.
Contact us Today About Harvesting Lavender!
We’re right in the heart of our first harvest of 2025! If you’re looking to buy fresh or dried lavender, now is the perfect time to place your order with us. We also have select Okanagan-themed goodies like mugs, flags, oils and more listed on our online storefront. Be sure to contact us today to secure your shopping cart!
Frequently Asked Questions (FAQ)
- When is the best time of day to harvest lavender?
The best time to harvest lavender is in the early morning when the oils are strongest and the flowers are dry. Avoid harvesting right after rain, as wet lavender doesn’t dry well.
- How do I know where to cut the stem?
Cut just above the woody part of the plant, where the green stem begins. This helps encourage healthy growth and protects the base of the plant from damage.
- What tools should I use to harvest lavender at home?
You can use garden scissors, pruners, or a small hand saw. Just make sure the tool is sharp and clean to avoid crushing the stems or spreading disease.
- How do I dry lavender properly?
Lay them flat, ideally on a rack, in a cool, dark, and dry place. Make sure air can circulate around each stem.
- Can I visit your lavender farm during harvest?
Our farm is not open to the public for visits or U-pick at this time. However, we invite you to shop our lavender products online and stay connected with us through our website.